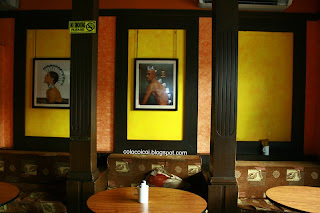
.. to this (I just removed the cup on the 2nd pic)..
Nice?
So let’s get it on!
First, make a Curve adjustment layer.. and create a slanted S.
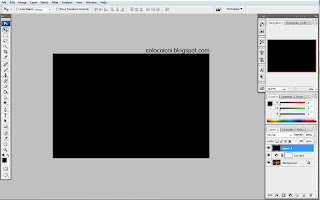
Then change the foreground color to Black, create a new layer on top of the two layers and fill the new layer with it.

Change it's blending mode to HUE and lower the opacity to 40%.
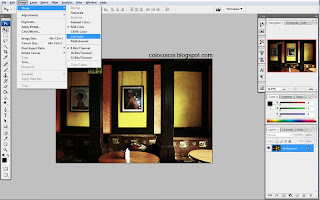
Flatten it and change the color mode to Lab Color..

.. go to channels tab and select Lightness (Don't be surprised if the picture turns into Black and White).
Then go to Filters>Sharpen>Unsharp Mask - change the value of Amout to 50%, Radius to 50 pixels and Threshold to 0. After that, change the Color Mode back to RGB Mode.
Now, for the last step, let's add the vignette to complete that Lomo look! Go to Filters>Distort>Lens Correction. At the Vignette Section of the window, change the Amount to -100 and the midpoint to +20 (.. or adjust it to your liking).That's it! HTH. Please leave your comments and tell if you were able to make your own Lomo Look.


2 comments:
Yehey You finally finished it ... we've been doing this the whole afternoon yesterday hehehehe! so proud of you. D ka lang direktor at photographer ngaun, instructor pa nyahahahaha! by popular demand talaga naman kasi yang lomo loko na yan nyahahahah! wabwab sweety ko umwah!
its good ....
www.lodzianin.eu
Post a Comment